2D Design: Vector design software
Generating artwork for the laser cutter in dfiffernt programs. And more advanced laser cutter techniques.
Prep for this week’s class
Try using some standard 2D software to generate artwork for the laser cutter. e.g.
- Inkscape
- Illustrator
Advanced laser cutter techiques
Decorative effects
Raster engraving (try it if you haven’t already)
- How fine can you make it?
- How does it work on different materials?
Tools for making
Box nets and origami
Books:
- Paul Jackson: Stuctural Packaging
- Paul Jackson: Folding techniques for designers
Assembly
- Pins, laces
- Clasps
- Slots and tabs (post-couture)
Joints
Easy to design <–> Strongest properties
- Slot - simplest, hard to align
- Chamfer - rounded corners help align parts, and can compress materials into slots (eg corrugated cardboard). But still relies on sliding friction
- Bi-stable (bump and slot), behaves very differetly for different materials
- Flexure - design a bendable part with controllable flex
- Pinned - secure joint with an orthogonal constraint (see also wedged mortise and tenon)
Tolerances
- Slop vs security (range is about 0.1mm)
- Brittle material vs compressible material
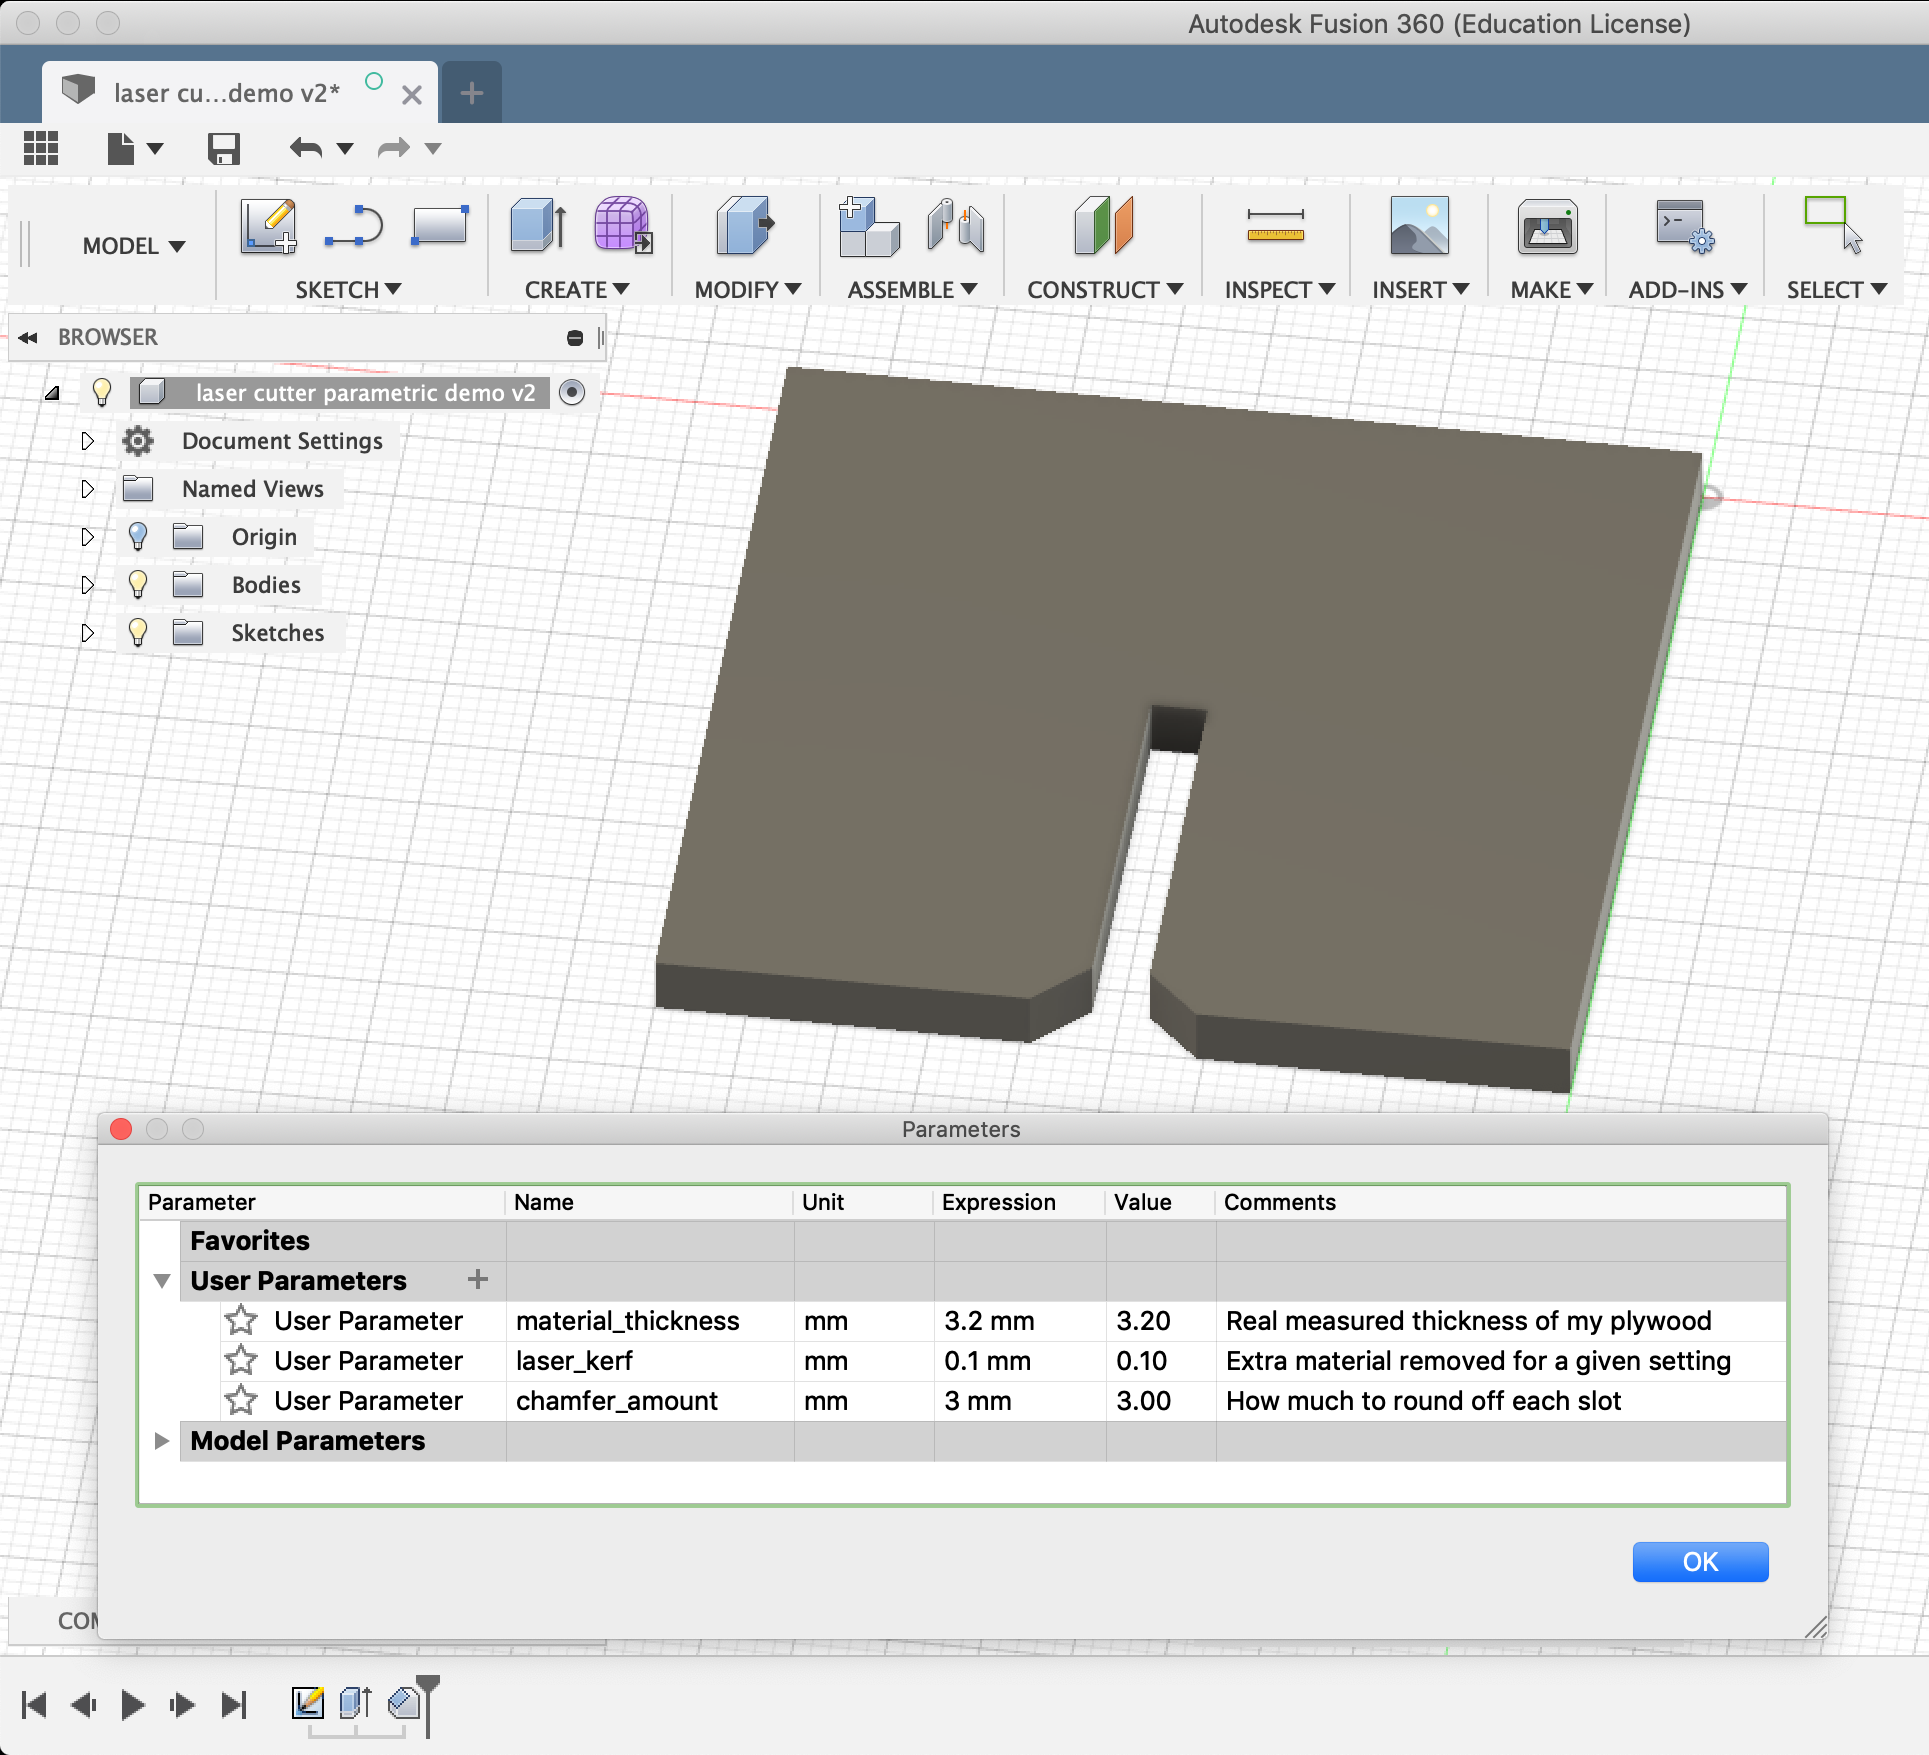
- Parametric design is your friend
Kerf
- Some material is removed with the cut.
- Some drivers (e.g. mods) allow for this, with offsetting.
- Otherwise, you should allow for this in your design (parametrically!)
3D shapes
- Kerfing (incomplete cut)
- Flexures, living hinges (enables twists and bends). See also Inkscape living hinge extension
- Extreme example, a moving platform without moving parts (gears, bearings)
Advanced software tools
Illustrator/Inkscape recap
Do we need to go over anything?
Useful tools:
- Outline/Preview mode
- Move (and repeat)
- Compound paths
Parametric design
- Cardboard comes in different thicknesses
- Lasers cut with different kerfs
- Human bodies come in different shapes and sizes
Inkscape is not parametric, Rhino and Fusion 360 are.
Example in Fusion 360: minimal-parametric-laser-cutter-demo

Assignment
Design your own assembly mechanism for making 3D objects out of a 2D material.
Design your parts in software, then test to see how they work by cutting them. Iterate.
Document all your work on your student blog, with photos and videos to show what you did, what went wrong, and how you fixed it. Cite external sources where you have used someone else’s work.
What do I need to do to pass? (40%)
Make a 3D object and document the process on your blog.
Extra credit (50-100%)
- Try different techniques for making 3D objects
- Experiment with different joint types
- Make tests to allow for the kerf of the laser in differnt materials and show how it affects fit and tolerance
- Use a parametric tool to design a part that can be adjusted for differnt materials and tolerances
- Use the lser cutter to make someting that is itself a tool in another making process
For next week
- Download and install Fusion360
- Watch some Fusion tutorials: https://www.linkedin.com/learning/fusion-360-essential-training-2/use-fusion-360-to-turn-your-ideas-into-designs?u=67552674