Week 3: Laser cutter: computer-controlled cutting (CNC)
Introducing the laser cutter and 2D-3D assembly.
Prep for this week’s class
Watch the corresponding Fab Academy lecture. We’ll be covering part of this content.
- Fab Academy lecture notes: http://academy.cba.mit.edu/classes/computer_cutting/index.html
- Lecture from 2018 (Fab-20180207D_Lesson03, the second video on the page): Fab Academy 20180207 Recordings
Baseline
Who has:
- Used 2D design software like Illustrator
- Learned the basics of a 3D tool like Fusion 360
- Cut something on a laser cutter
Computer Aided Design (CAD) software
We mostly use Fusion360, Rhino, Solidworks for 3D; Illustrator or Inkscape for 2D
- Inkscape video
- Rhino
- Grasshopper video
- Blender
- Sverchok
- FreeCAD
- Sketcher video
- Fusion 360
- Slicer
- SolidWorks
- xDesign
- Onshape
- Kiri:Moto
- Antimony video
- Pepakura
- VisiCut
- flatfab
- ExactFlat
- mods
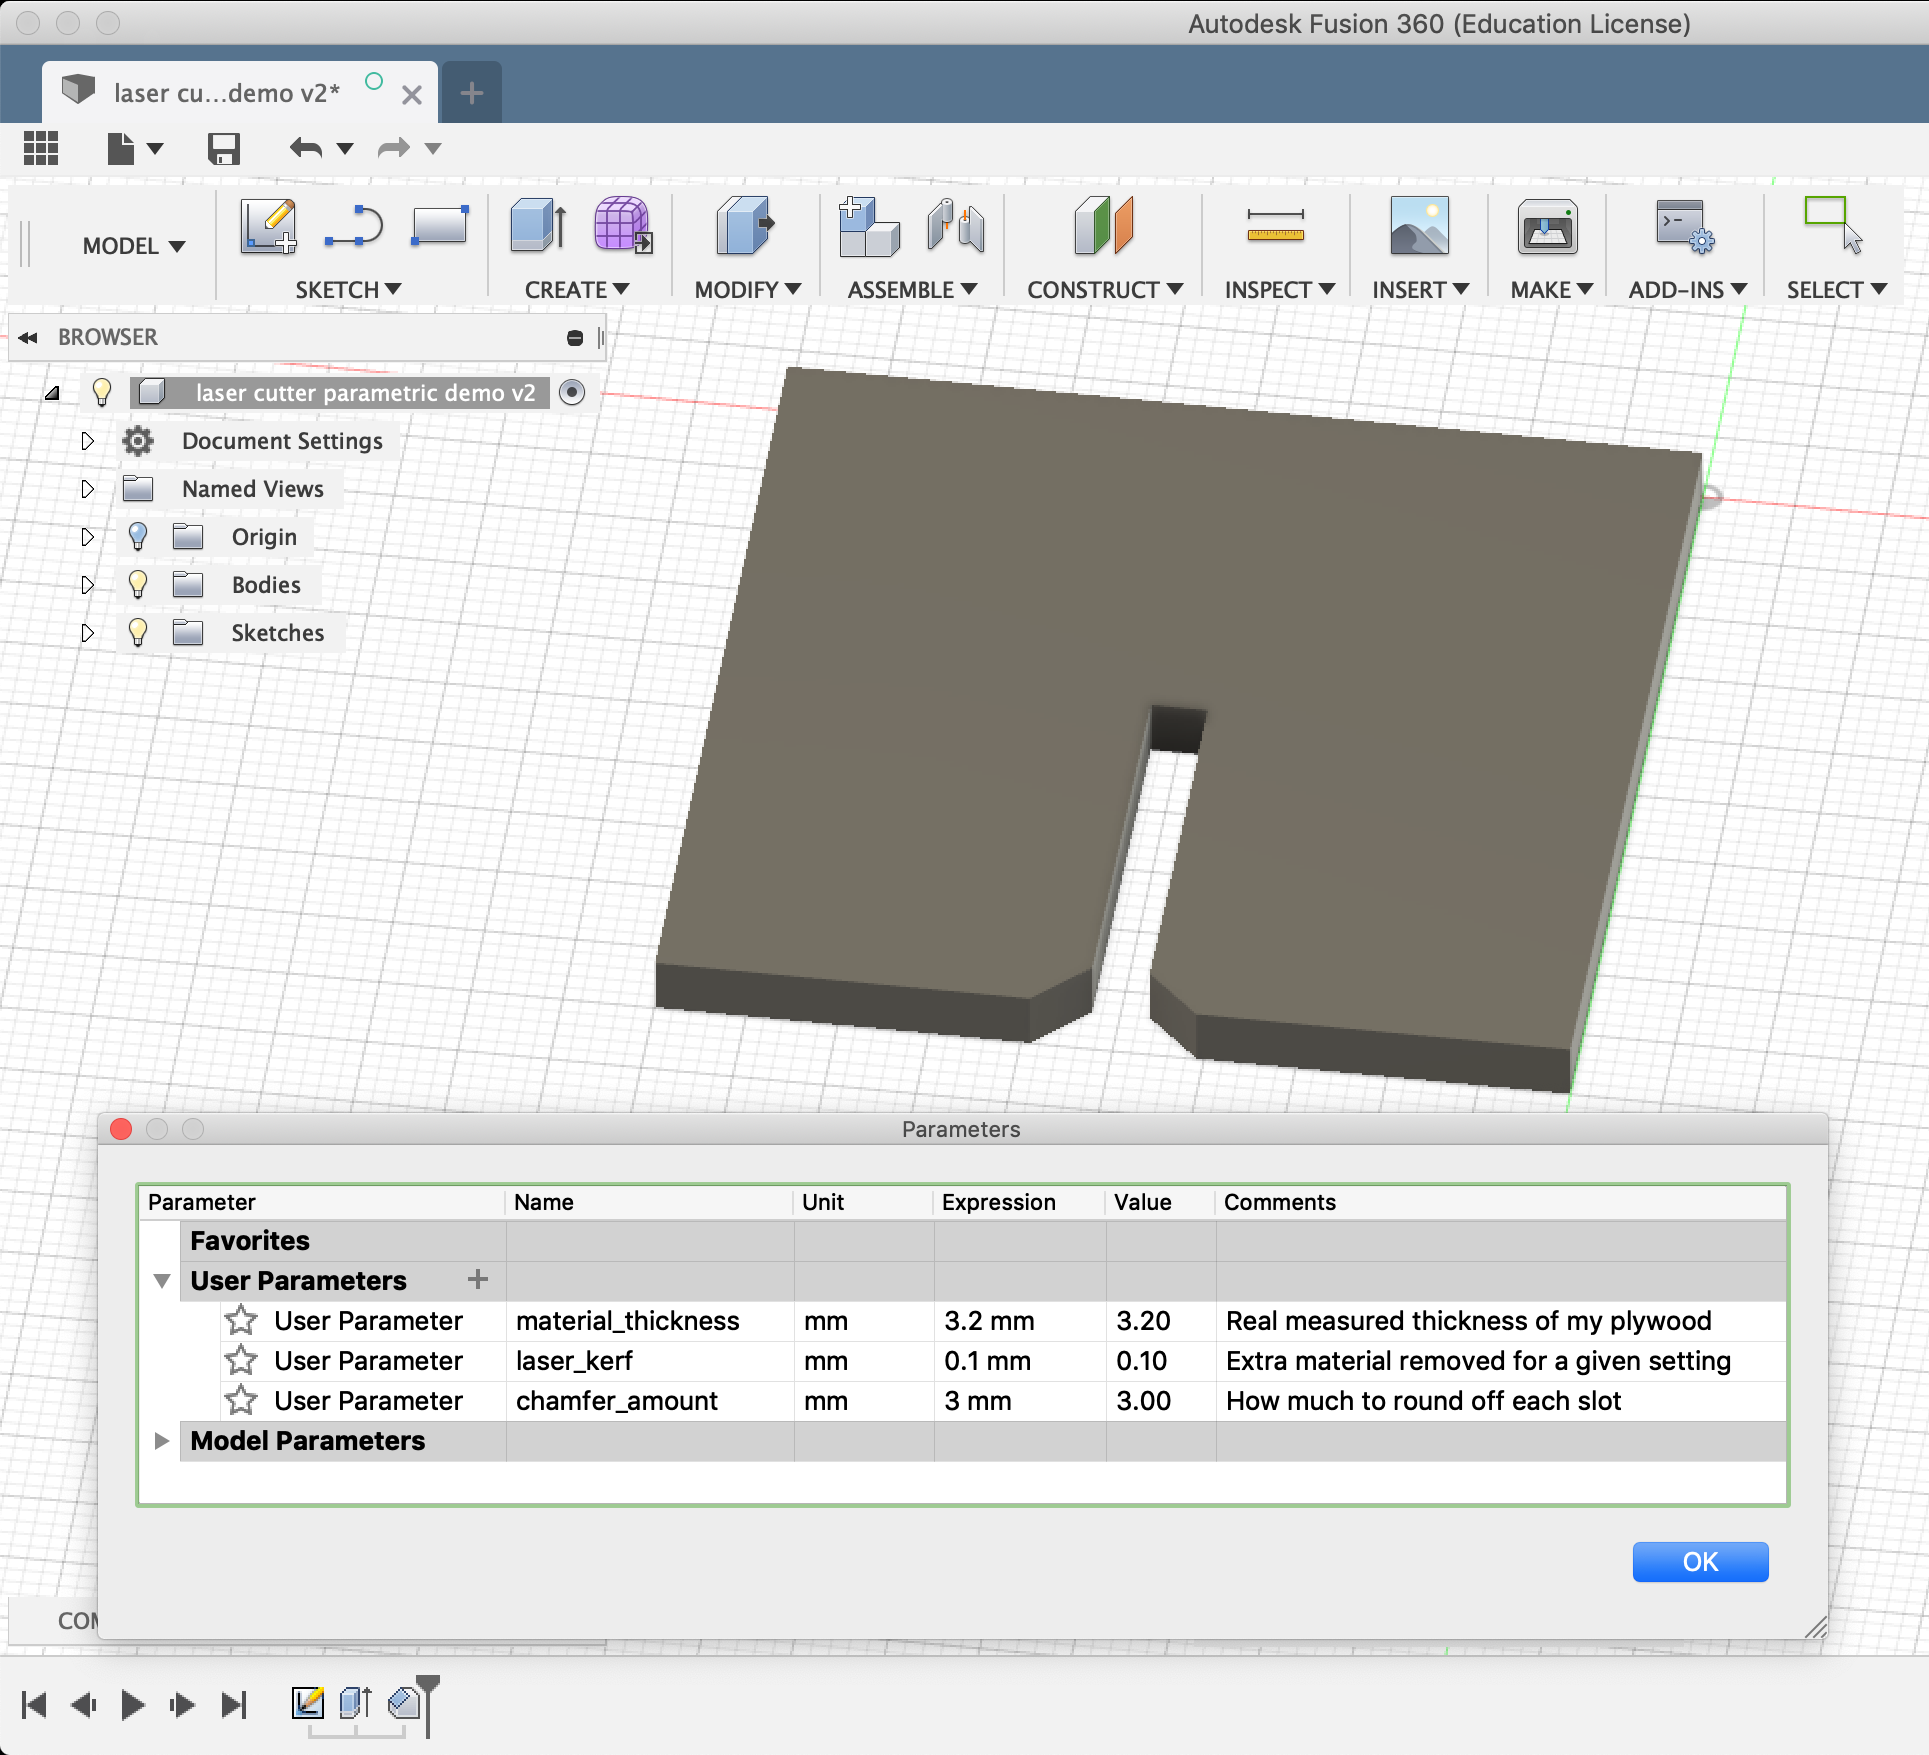
Parametric design
- Cardboard comes in different thicknesses
- Lasers cut with different kerfs
- Human bodies come in different shapes and sizes
Inkscape is not parametric, Rhino and Fusion 360 are.
Example in Fusion 360: minimal-parametric-laser-cutter-demo
Computer Aided Manufacturing (CAM)
CAD is design, CAM translates a design file into a format the machine understands and communicates with the machine.
Typically through printer driver (accessible in Print dialog on your 2D CAD software)
But we can also talk to the machine at a lower level using Fab Modules or Mods
The laser cutter
Applications
- Cutting or marking/engraving by varying power
- Raster or vector mode
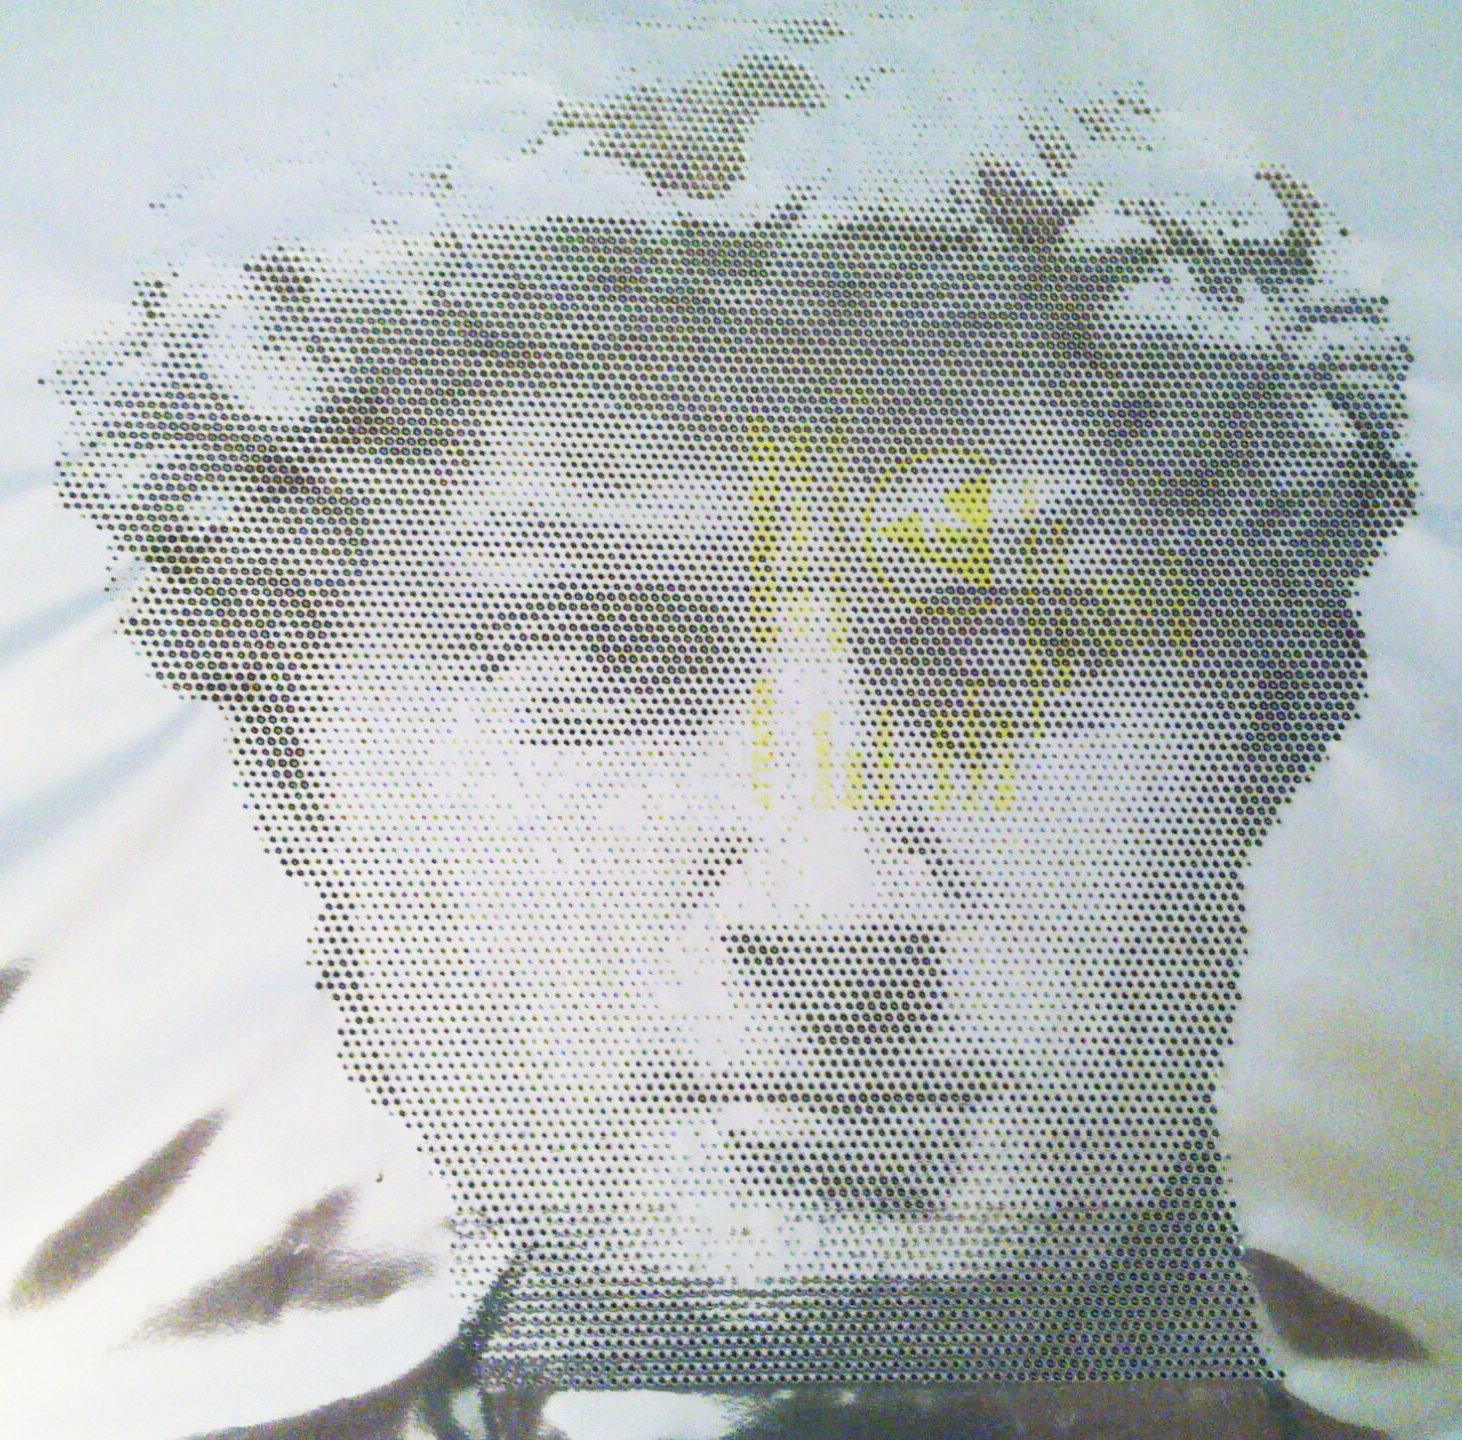
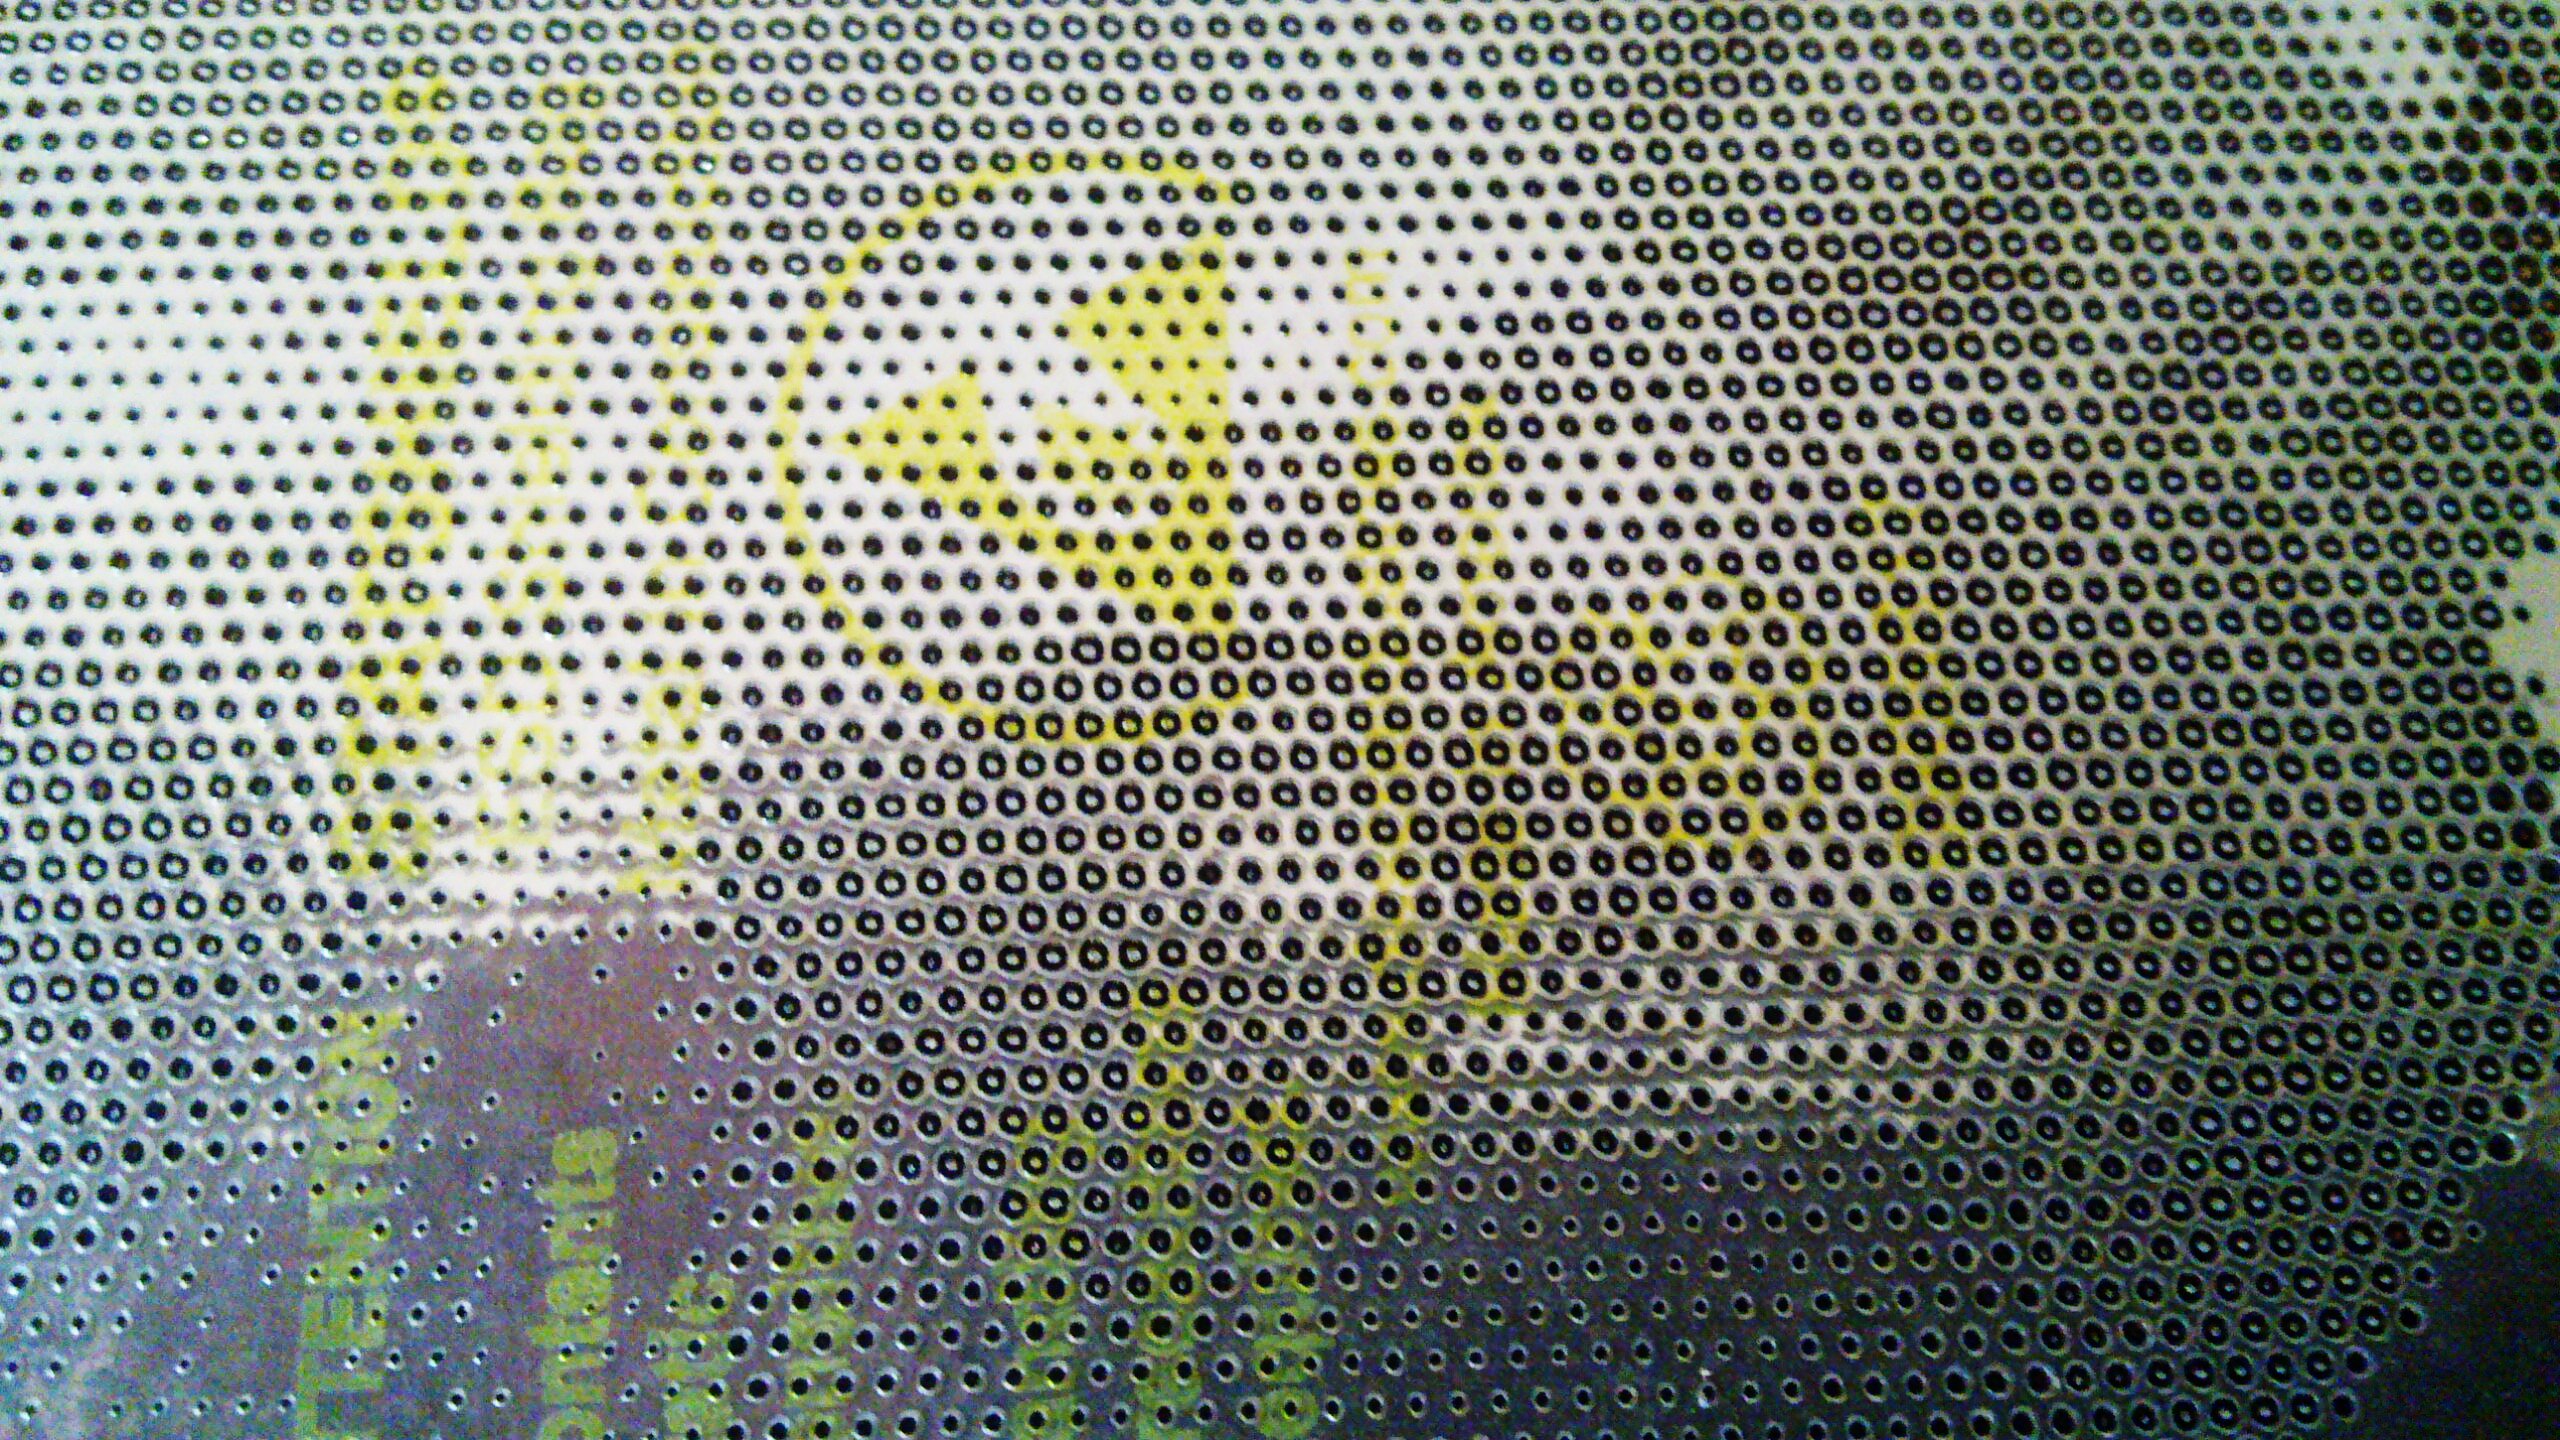
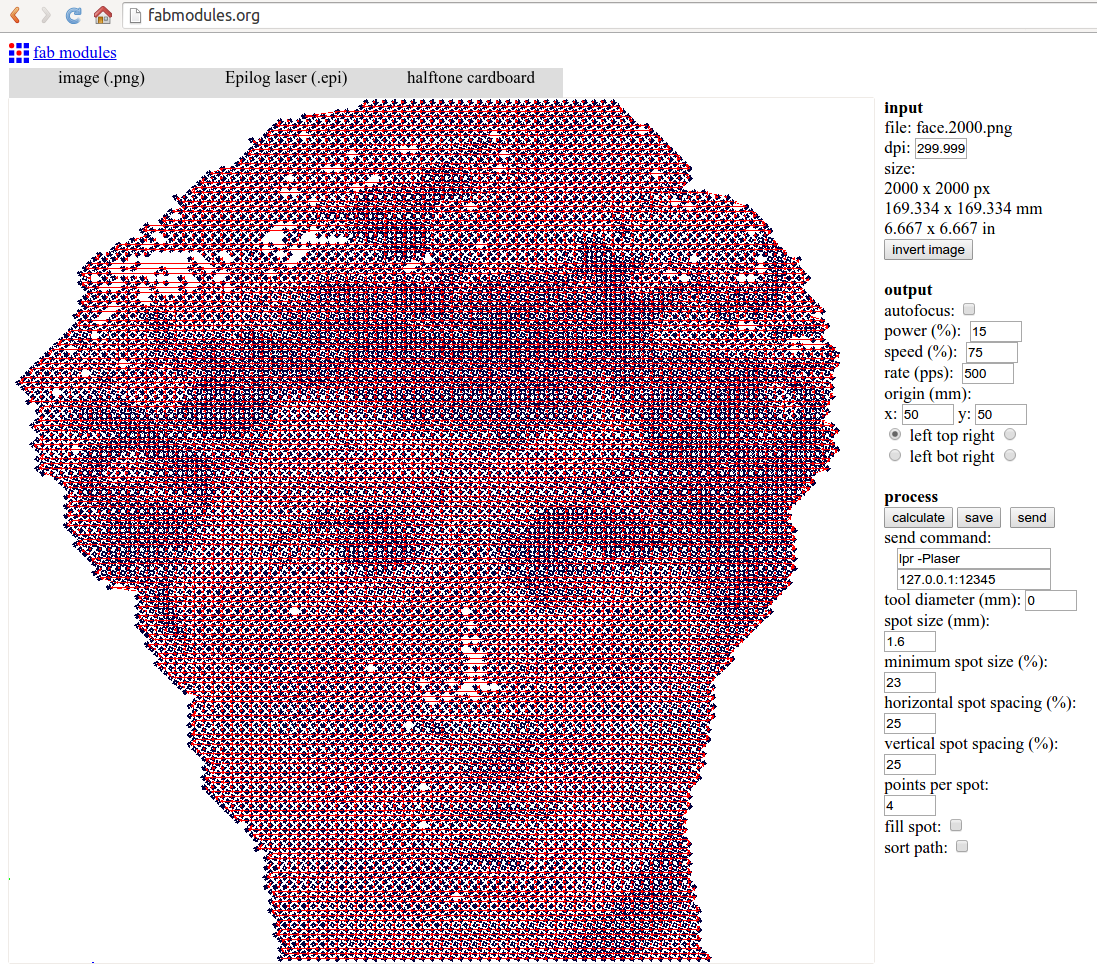
- Screen printing, by making a halftone (See holes, path)
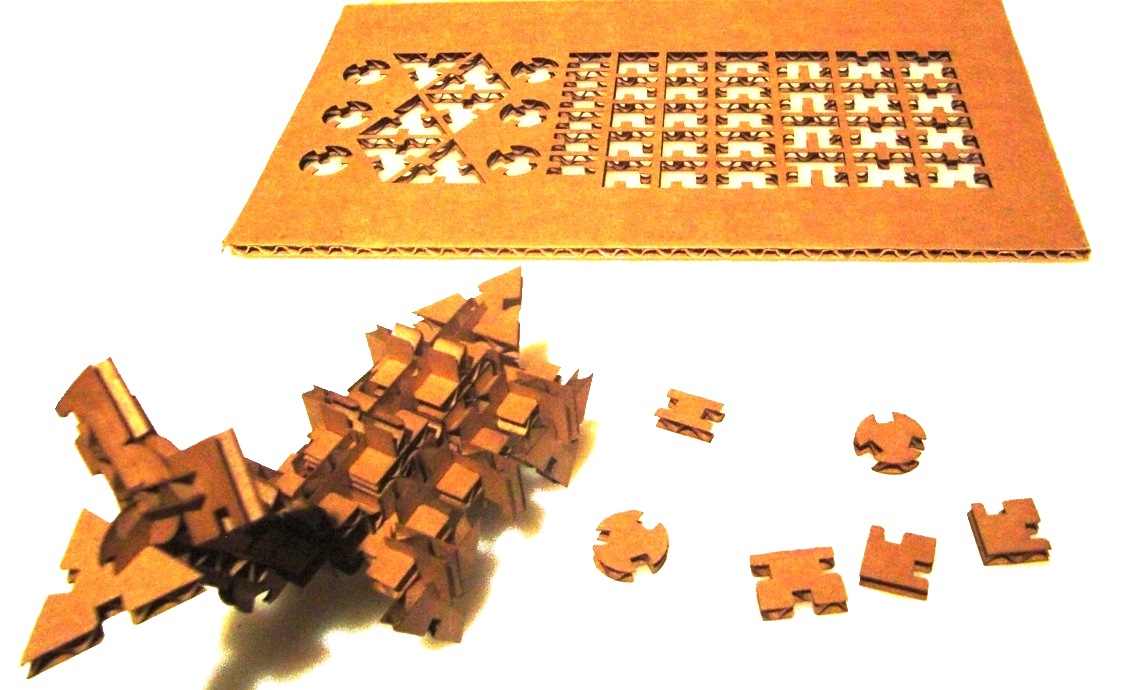
- Press-fit construction (example: GIK, gik.cad, gik.png)
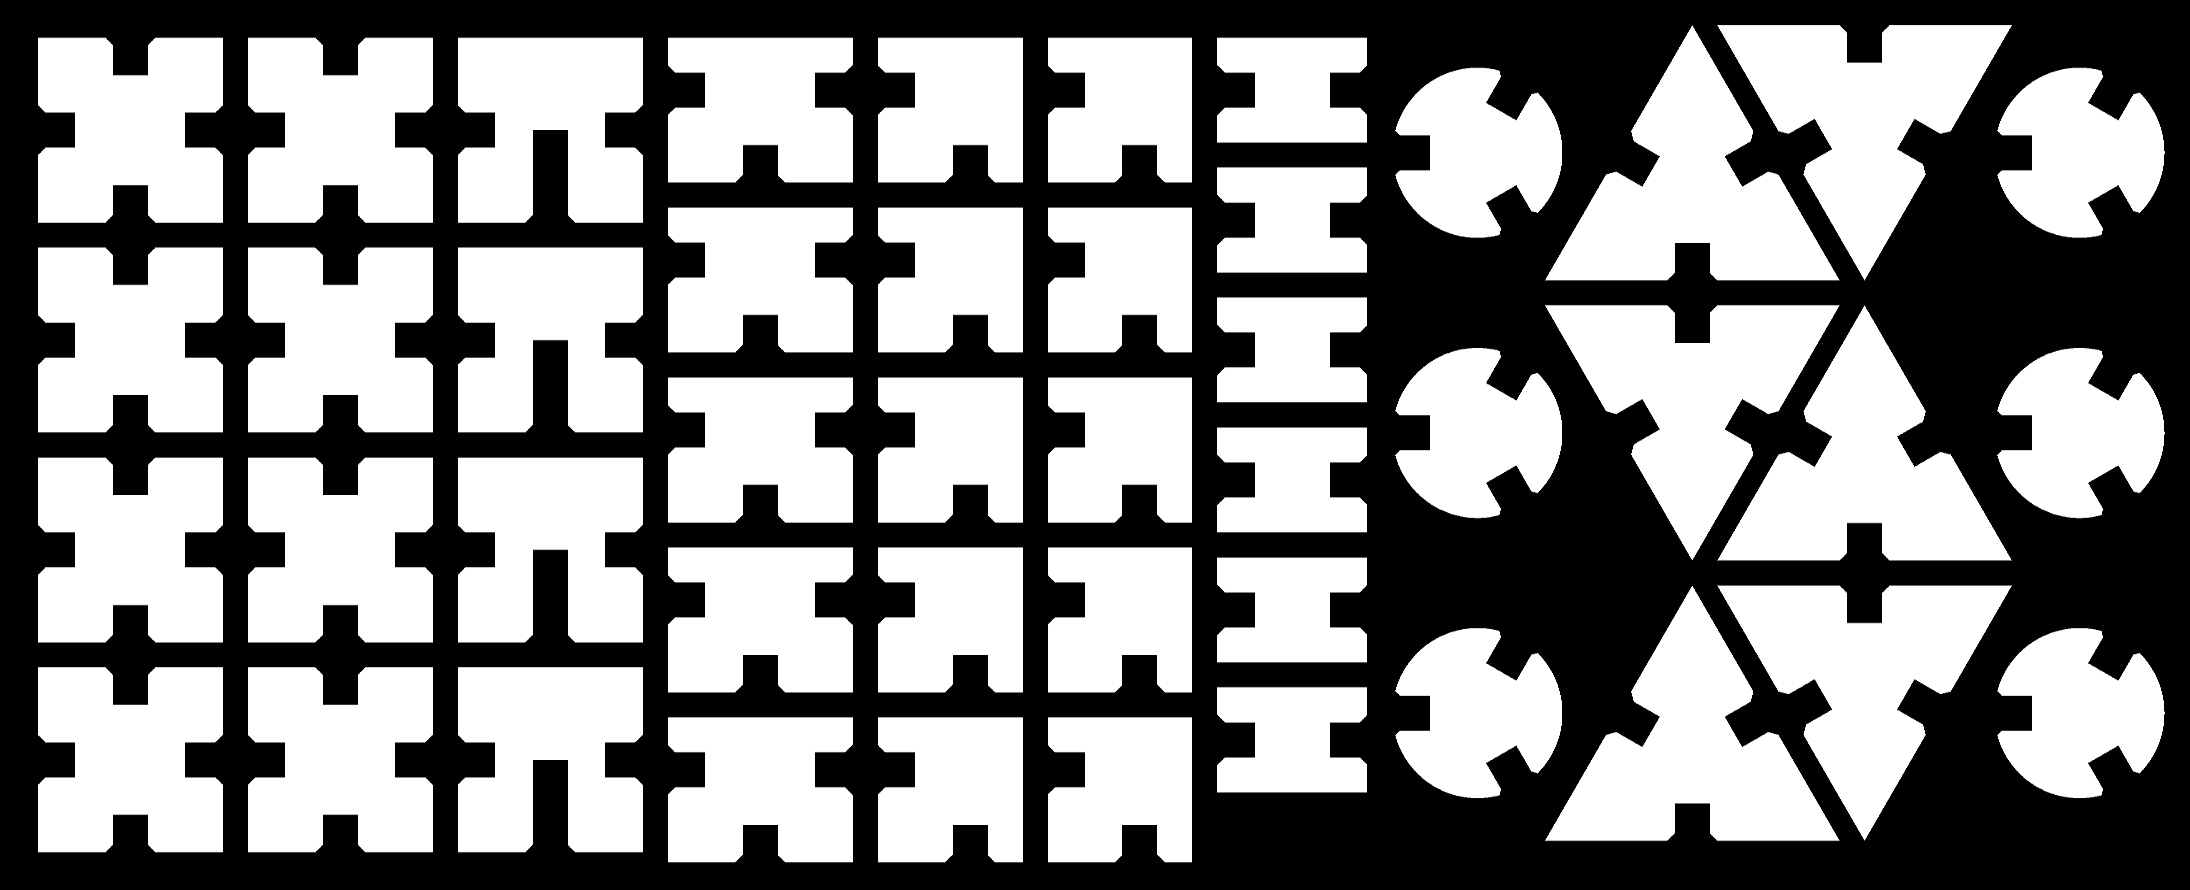
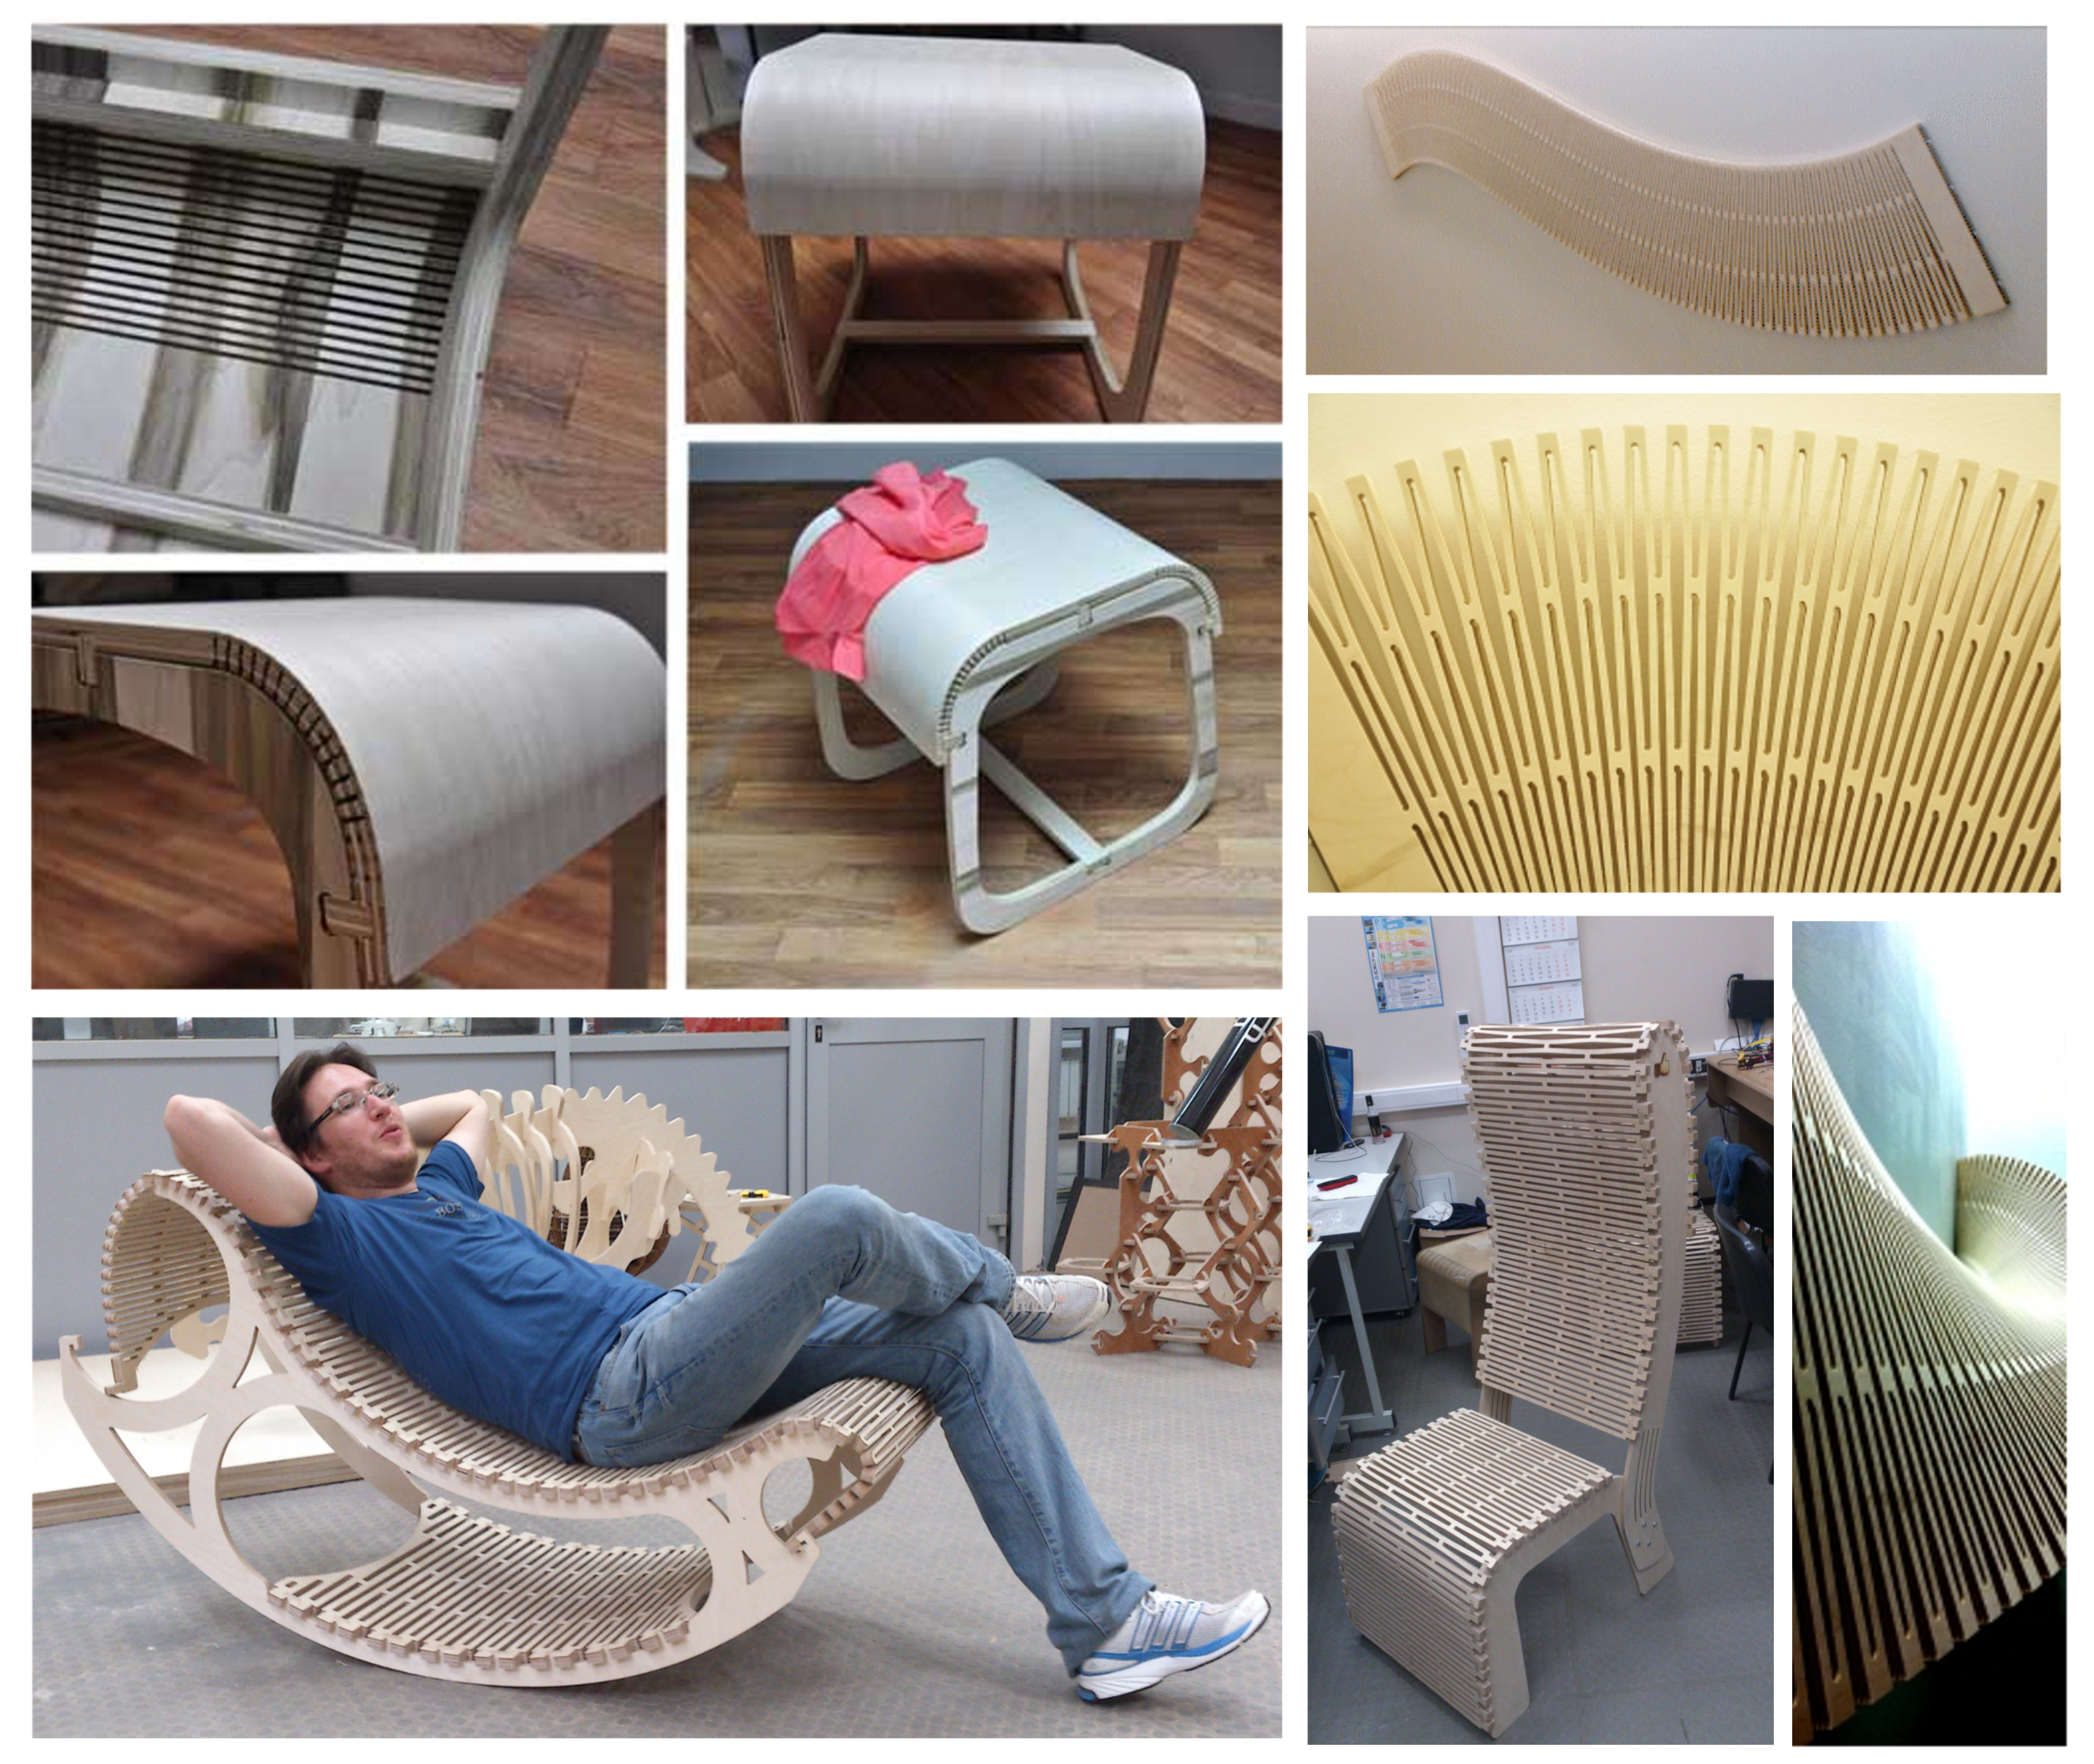
Joints
Easy to design <–> Strongest properties
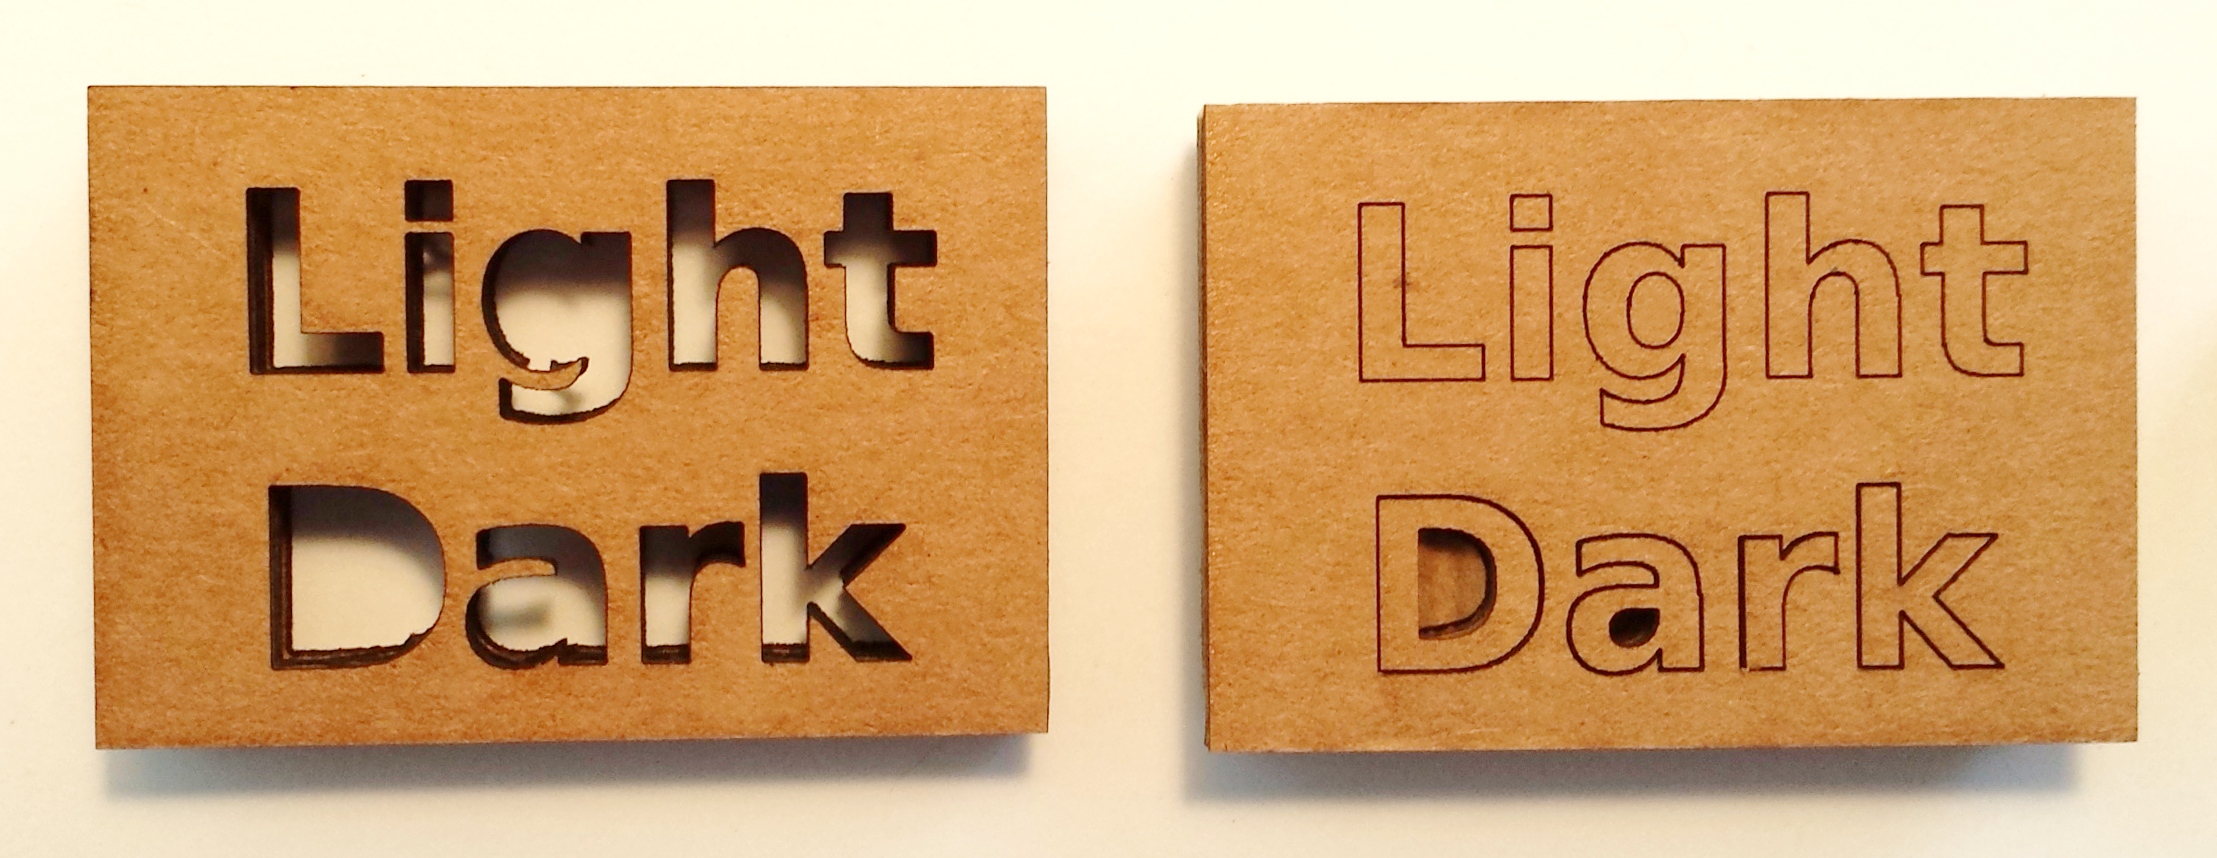
- Slot - simplest, hard to align
- Chamfer - rounded corners help align parts, and can compress materials into slots (eg corrugated cardboard). But still relies on sliding friction
- Bistable (bump and slot), behaves very differetly for different materials
- Flexure - design a bendable part with controllable flex
- Pinned - secure joint with an orthogonal constraint (see also wedged mortise and tenon)
Tolerances
- Slop vs security (range is about 0.1mm)
- Brittle material vs compressible material
- Parametric design is your friend
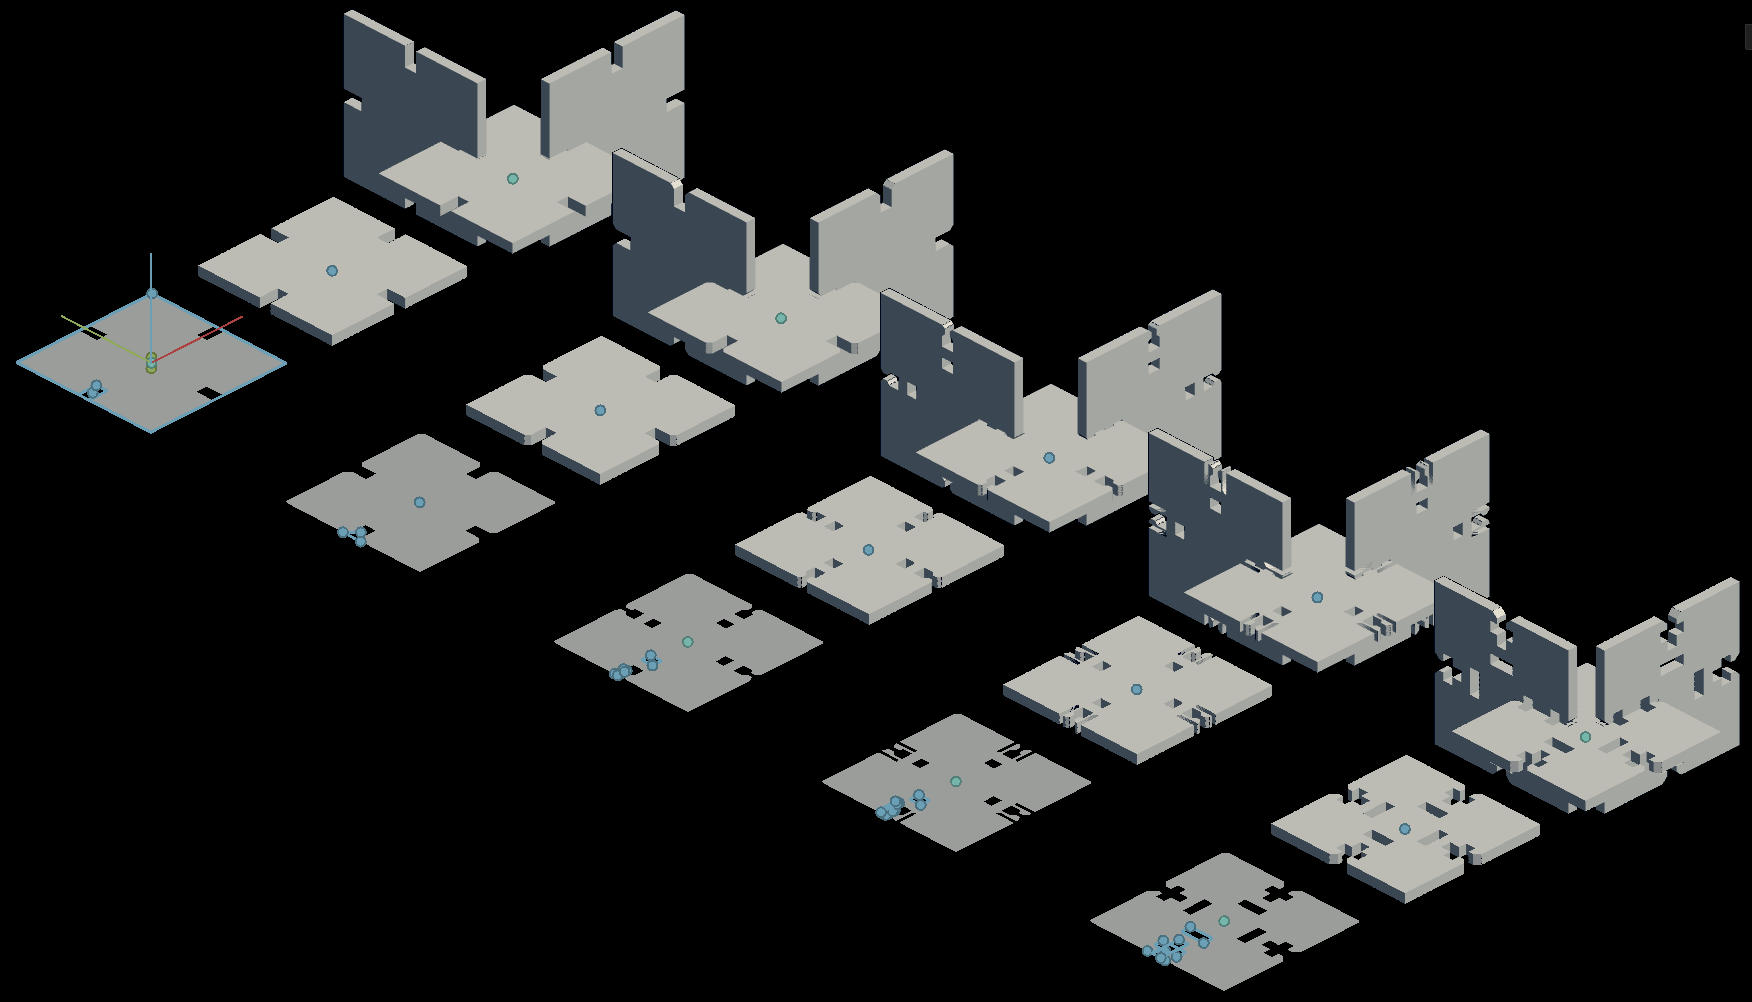
3D shapes
- Kerfing (incomplete cut)
- Flexures, living hinges (enables twists and bends). See also Inkscape living hinge extension
- Extreme example, a moving platform without moving parts (gears, bearings)
Lasers (Light Amplification by Stimulated Emission of Radiation)
See Neil’s lecture (@ 45 mins) for technical details
CO2 laser: good for wood, card, acrylic, etc. Need a fiber laser to cut metal.
Cutting mechanisms
- burning
- melting
- evaporation
- ablation
The material has to go somewhere, …
Airflow
- Exhaust - draws combustible material out. (Machine: Extractor)
- Assist - injects air at the cutting point. (Machine: Compressor)
If it’s not strong enough, that material stays around - Bad news
You shouldn’t see smoke hanging around in laser cutting chamber
Exhaust fumes are very bad news
Plastic will outgas for a minute after cutting. Leave the lid closed for a minute
Kerf
Some material is removed with the cut.
Some drivers (e.g. mods) allow for this, with offsetting.
Otherwise, you should allow for this in your design (parametrically!)
Safety
All laser cutters want to catch on fire
Card, MDF, plywood and acrylic are all really close to combusting when cutting.
Don’t step away from the machine. Always supervise.
Initial combustion: open the lid. Otherwise, smother or use the fire extinguisher.
Laser optics need to be kept clean, otherwise, heat can build up (so avoid smoke)
WIP: Check safety procedures
Materials
- Cardboard - the good stuff bows, not kinks. Use old boxes. Very forgiving for joints
- Plywood - Real thickness != real thickness - use the callipers.
- PMMA/acrylic/plexiglass/perspex/lucite glue bend
- POM/delrin/acetal - more elastic than acrylic
No-gos
- No PVC - releases chlorine
- Never put a material into the cutter unless you know where it came from - no random plastic.
- Never put anything shiny (e.g. metal) into a CO2 laser
Preparing artwork (for vector cutting)
- 2D vector file (EPS or DXF)
- Make the format as simple as possible
- All shapes no fill, nd 0.001mm stroke
- Laser origin is top left
How to use the laser cutter
See Fab Academy docs here: https://docs.google.com/document/d/1kDd0A60eJdmJgIRt-zmAJwxszw0Gd61VXqHKnizv6hg/edit
Place material
- Consider airflow
- Alignment against the rulers
- Support to distance the material from the bed
- Flat surface - consistent z-height
Set origins and focus
- Use laser pointer
- Set x and y origins
- Use focus tool to set z-origin
Settings
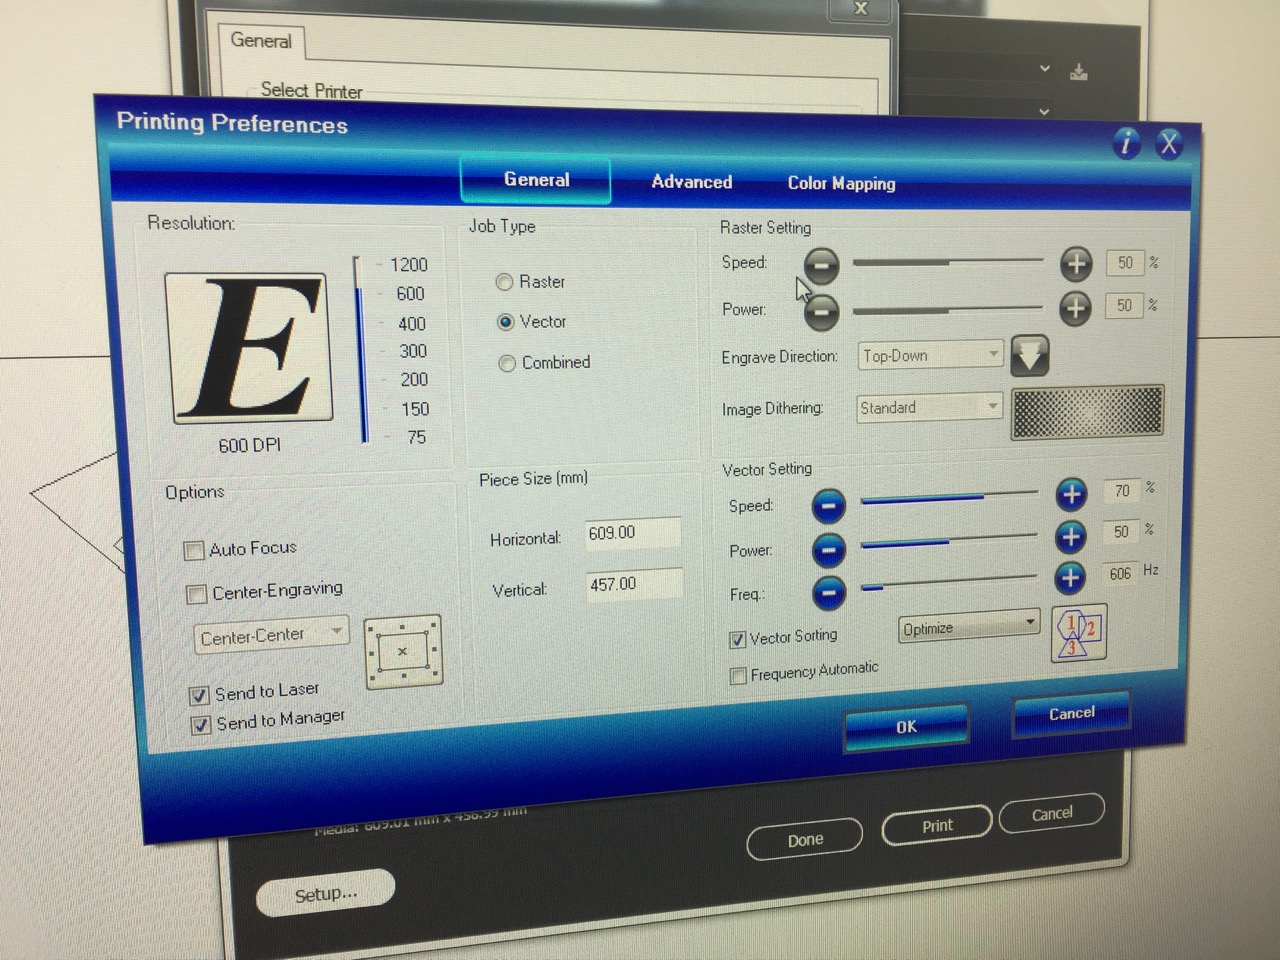
- Power - too much melts, too little doesn’t cut. Use multiple passes.
- Speed - too slow can cause combustion, too slow doesn’t cut
- Pulse rate/Frequency - too close can melt, too far apart can leave gaps
- Coordinate system, origin is top left
- Vector mode for cutting, raster mode for engraving (but interesting grey areas for experimentation)
Extraction
- Turn on the BOFA extractor (speed approx 330m3h)
- Turn on the air compressor
Whilst it’s cutting
- Always observe the cutting closely
After the cut
- Leave the lid closed with the extractor on for 30 seconds
- If you mess up the bed, clean it up - take it to the sink and carefully clean it without bending the sheet
Assignment
Design, lasercut, and document a (parametric) press-fit construction kit, accounting for the lasercutter kerf, which can be assembled in multiple ways.
- Use cardboard: forgiving, cheap, recyclable. But beware fire risk.
- Make test cuts, vary power, speed and frequency – Document your results.
- Make kerf tests to find good settings. Use these results for your own (parametric) design.
What do I need to do to pass?
- Design, cut and assemble a 3D card model using the laser cutter.
- Demonstrate an ability to work safely.
- Demonstrate a process of experimentation and iteration to improve your results.
Document all your work on your student blog, with photos and videos to show what you did, what went wrong, and how you fixed it. Cite external sources where you have used someone else’s work.
Update 2019-02-20:
- Specifically, document how you established a good fit for the parts:
- e.g. If they’re designed to stick together, how did you make them loose enough that you can assemble the pieces, but tight enough that the structure is stable.
- Suggestion: make some test pieces that calibrates your laser kerf, and how much space you need to leave between mating parts
Extra credit
- Use a parametric design tool to account for cardboard thickness, kerf testing and joint stability.
- Make a model that uses more advanced joint techniques.
- Make a model that doesn’t just consist of flat panels assembled together
Update 2019-02-20:
- Make the same kit in a less forgiving material (e.g. MDF, or acrylic)
- Make a kit of assembled parts in a non-rigid material - e.g. acrylic felt